목표
Layout에 Fragment 설정하기
신규 프로젝트 만들기

Empty Activity를 기반으로 신규 프로젝트를 만들어 준다.
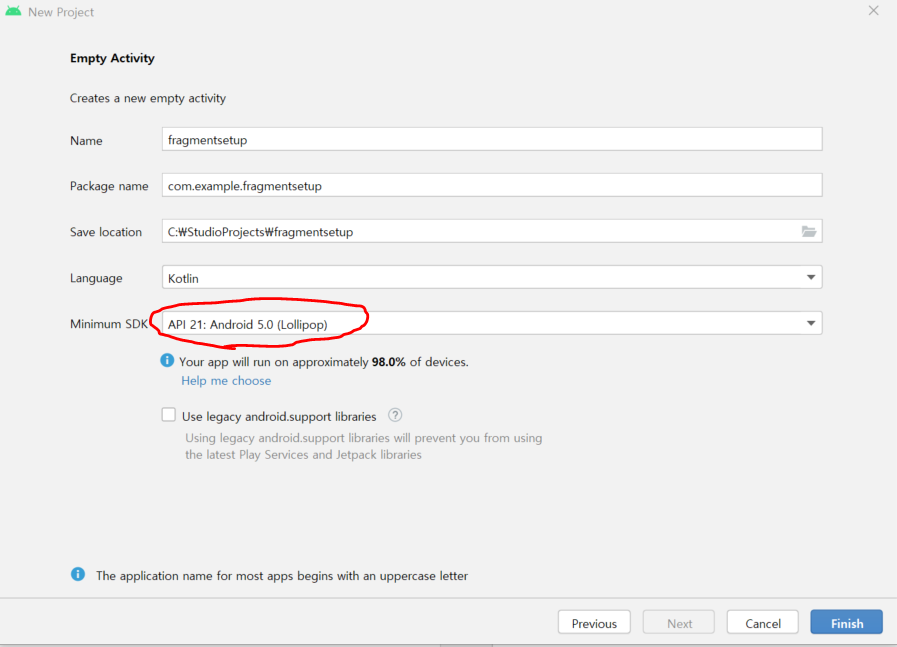
API 21기준으로 Minimum SDK를 설정해 준다.
https://developer.android.com/jetpack/compose/setup
Jetpack이 API21 부터 호환하기 때문에 min SDK는 가급적 21로 맞추어 줄 예정이다.
Gradle 설정 확인하기

새로 만들어진 Gradle의 Dependency를 확인하자.
build.gradle
plugins {
    id 'com.android.application'
    id 'kotlin-android'
}

android {
    compileSdk 31

    defaultConfig {
        applicationId "com.example.fragmentsetup"
        minSdk 21
        targetSdk 31
        versionCode 1
        versionName "1.0"

        testInstrumentationRunner "androidx.test.runner.AndroidJUnitRunner"
    }

    buildTypes {
        release {
            minifyEnabled false
            proguardFiles getDefaultProguardFile('proguard-android-optimize.txt'), 'proguard-rules.pro'
        }
    }
    compileOptions {
        sourceCompatibility JavaVersion.VERSION_1_8
        targetCompatibility JavaVersion.VERSION_1_8
    }
    kotlinOptions {
        jvmTarget = '1.8'
    }
}

dependencies {
    implementation 'androidx.core:core-ktx:1.7.0'
    implementation 'androidx.appcompat:appcompat:1.4.1'
    implementation 'com.google.android.material:material:1.5.0'
    implementation 'androidx.constraintlayout:constraintlayout:2.1.3'
    testImplementation 'junit:junit:4.+'
    androidTestImplementation 'androidx.test.ext:junit:1.1.3'
    androidTestImplementation 'androidx.test.espresso:espresso-core:3.4.0'
}
22년 1월 기준으로 compileSdk와 targetSDK가 31이라는 것을 확인하자.
해당 SDK의 버전은 jetpack과 연관성이 있는데,
그 아래 dependencies의 compileSdk와
    implementation 'androidx.core:core-ktx:1.7.0'
    implementation 'androidx.appcompat:appcompat:1.4.1'
같지 않으면 오류가 발생하게 된다.
이후에 이와 관련된 오류가 발생하게 되면
https://developer.android.com/jetpack/androidx/versions
상기 사이트를 방문해서 최신 버전으로 관련 라이브러리 버전을 일괄 업데이트 해주면 된다.
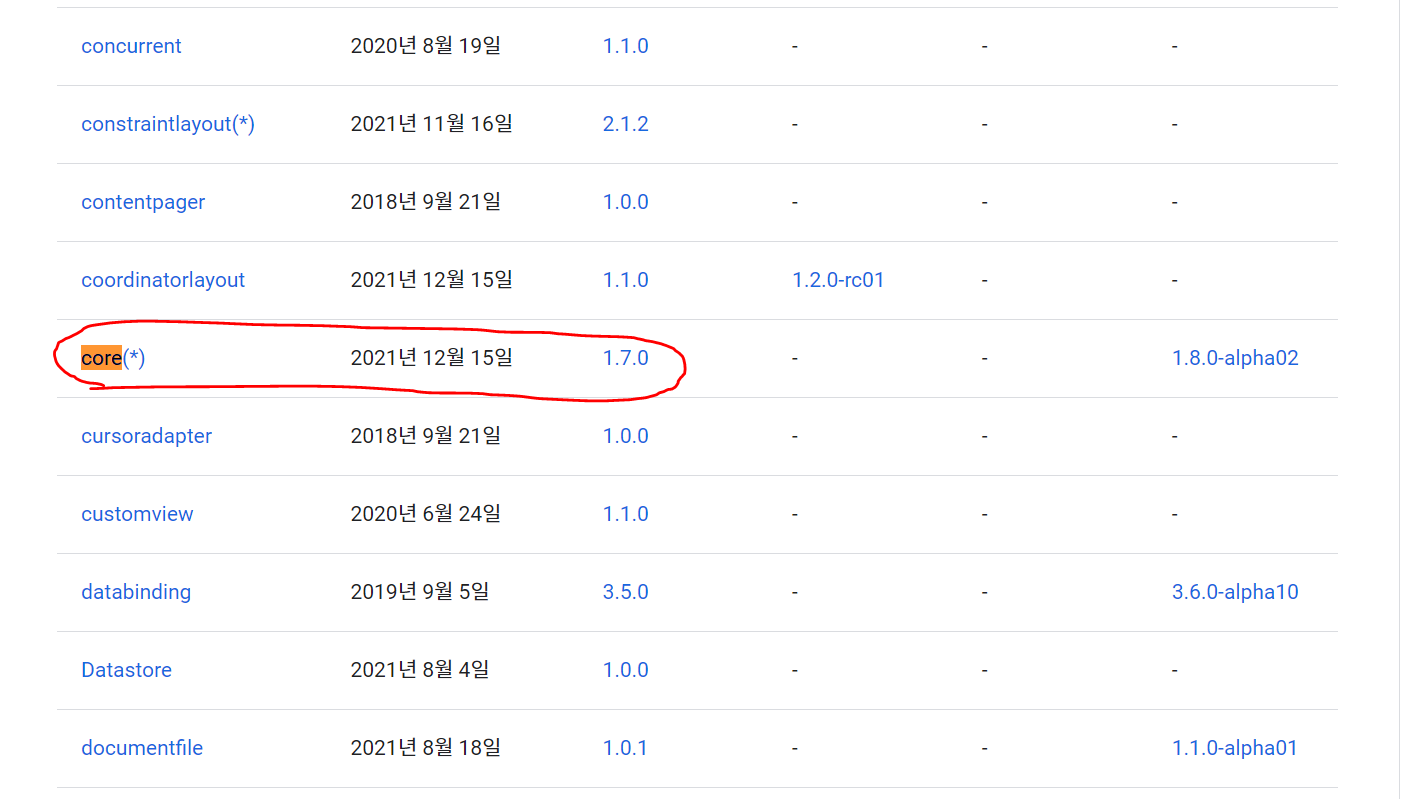

core와 appcompat 라이브러리 최신이 각각 1.7.0과 1.4.0 인것을 확인할 수 있다.
fragment layout 추가하기

위의 위치에서 Fragment (Blank)를 선택하자.
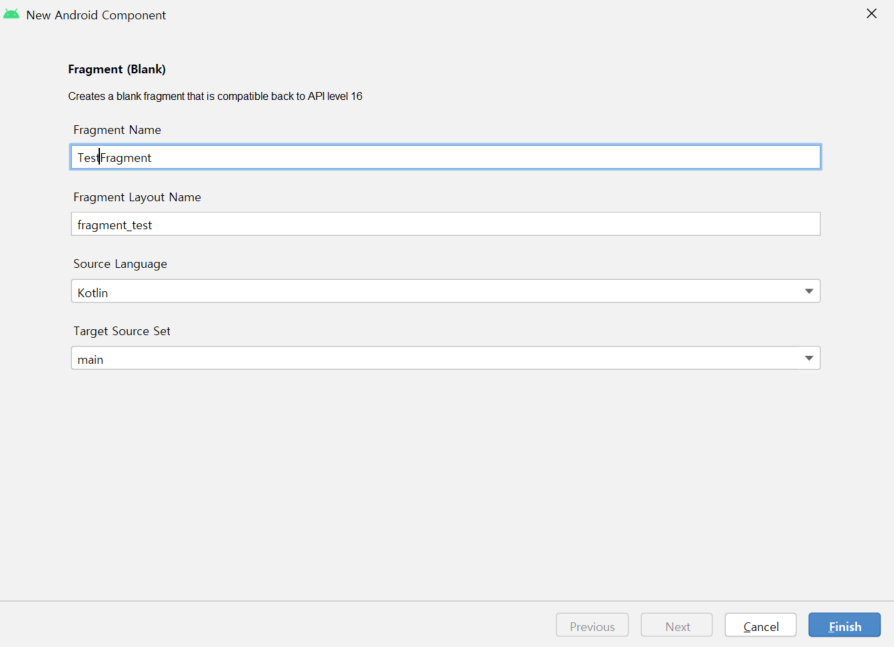
TestFragment를 하나 만들어 주자.
2개의 파일이 생성되는 것을 확인 할 수 있다.

우선 TestFragment.kt에서 불필요한 내용을 지워주자.
onCreateView만 남겨놓고 모두 불필요하다.
package com.example.fragmentsetup

import android.os.Bundle
import androidx.fragment.app.Fragment
import android.view.LayoutInflater
import android.view.View
import android.view.ViewGroup


/**
 * A simple [Fragment] subclass.
 * Use the [TestFragment.newInstance] factory method to
 * create an instance of this fragment.
 */
class TestFragment : Fragment() {

    override fun onCreateView(
        inflater: LayoutInflater, container: ViewGroup?,
        savedInstanceState: Bundle?
    ): View? {
        // Inflate the layout for this fragment
        return inflater.inflate(R.layout.fragment_test, container, false)
    }

}
이제 fragment_test.xml을 조금 수정하자.
Framelayout을 ConstraintLayout으로 변경하고 간단한 Text를 넣었다.
<?xml version="1.0" encoding="utf-8"?>
<androidx.constraintlayout.widget.ConstraintLayout
    xmlns:android="http://schemas.android.com/apk/res/android"
    xmlns:app="http://schemas.android.com/apk/res-auto"
    xmlns:tools="http://schemas.android.com/tools"
    android:layout_width="match_parent"
    android:layout_height="match_parent"
    tools:context=".TestFragment">


    <TextView
        android:id="@+id/textView"
        android:layout_width="wrap_content"
        android:layout_height="wrap_content"
        android:text="안녕하세요 Fragment 설정하는 방법이에요"
        android:textSize="20sp"
        app:layout_constraintBottom_toBottomOf="parent"
        app:layout_constraintEnd_toEndOf="parent"
        app:layout_constraintStart_toStartOf="parent"
        app:layout_constraintTop_toTopOf="parent"
        app:layout_constraintVertical_bias="0.13999999" />
</androidx.constraintlayout.widget.ConstraintLayout>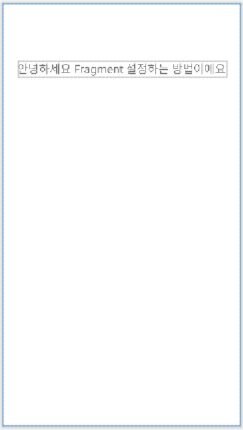
Activity에 FragmentContainerView 위치 시키기
fragment는 FragmentContainerView를 통해서 layout에 위치 시킬 수 있다.
activity_main.xml을 아래와 같이 수정해 준다.
<?xml version="1.0" encoding="utf-8"?>
<androidx.constraintlayout.widget.ConstraintLayout xmlns:android="http://schemas.android.com/apk/res/android"
    xmlns:app="http://schemas.android.com/apk/res-auto"
    xmlns:tools="http://schemas.android.com/tools"
    android:layout_width="match_parent"
    android:layout_height="match_parent"
    android:padding="24dp"
    tools:context=".MainActivity">

    <androidx.fragment.app.FragmentContainerView
        android:id="@+id/fragment_Container_View"
        android:name="com.example.fragmentsetup.TestFragment"
        android:layout_width="match_parent"
        android:layout_height="match_parent"
        android:layout_marginStart="24dp"
        android:layout_marginTop="24dp"
        android:layout_marginEnd="24dp"
        android:layout_marginBottom="24dp"
        app:layout_constraintBottom_toBottomOf="parent"
        app:layout_constraintEnd_toEndOf="parent"
        app:layout_constraintStart_toStartOf="parent"
        app:layout_constraintTop_toTopOf="parent"
        tools:layout="@layout/fragment_test">

    </androidx.fragment.app.FragmentContainerView>
</androidx.constraintlayout.widget.ConstraintLayout>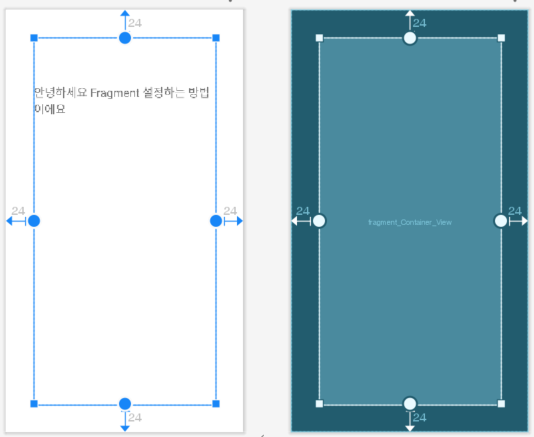
FragmentContainerView를 사용할때 신경써야 하는 부분은, name 이곳에 표시할 fragment의 class path name을 써야한다.
android:name="com.example.fragmentsetup.TestFragment"위의 설정까지만 하고 실행 시켜보면 아래와 같이 잘 작동하는 것을 확인 할 수 있다.

https://github.com/theyoung/fragmentsetup/tree/40defa85ab7becc3e026eddc11bc093f2b12745c
GitHub - theyoung/fragmentsetup
Contribute to theyoung/fragmentsetup development by creating an account on GitHub.
github.com
딱 여기까지만 설정된 프로젝트
이제 Fragment에 Navigation을 연결해 보겠습니다.
2022.01.24 - [Android] - Android Fragment Navigation with Action
'Android' 카테고리의 다른 글
| Android Fragment with Arguments (0) | 2022.01.25 |
|---|---|
| Android Fragment Navigation with Action (0) | 2022.01.24 |
| Android CTS/GTS UnofficialApisUsageTest 비 인터페이스 제한 대응 (0) | 2021.08.24 |
| Android Device Default Value 변경 (AOSP Setting) (0) | 2021.07.02 |
| fastboot 로 device를 찾을 수 없을때 해결방법 (2) | 2021.05.06 |
